
Guidelines for Transferring Students Across Levels/Years
Step 1: Login to the System
Login to the System
To begin the process of module offering, users must first log in to the Learning Management System (LMS) of the University of Moratuwa.
Accessing the LMS
-
Open a web browser (recommended: Mozilla Firefox or Google Chrome) and navigate to the following URL:
https://lms.uom.lk/login_index.php
Entering Login Credentials
-
Enter your Username and Password in the appropriate fields.
-
Click the Login button to access the LMS dashboard.
⚠️ Note: If you have forgotten your password, use the "Forgot Password" link on the login page.
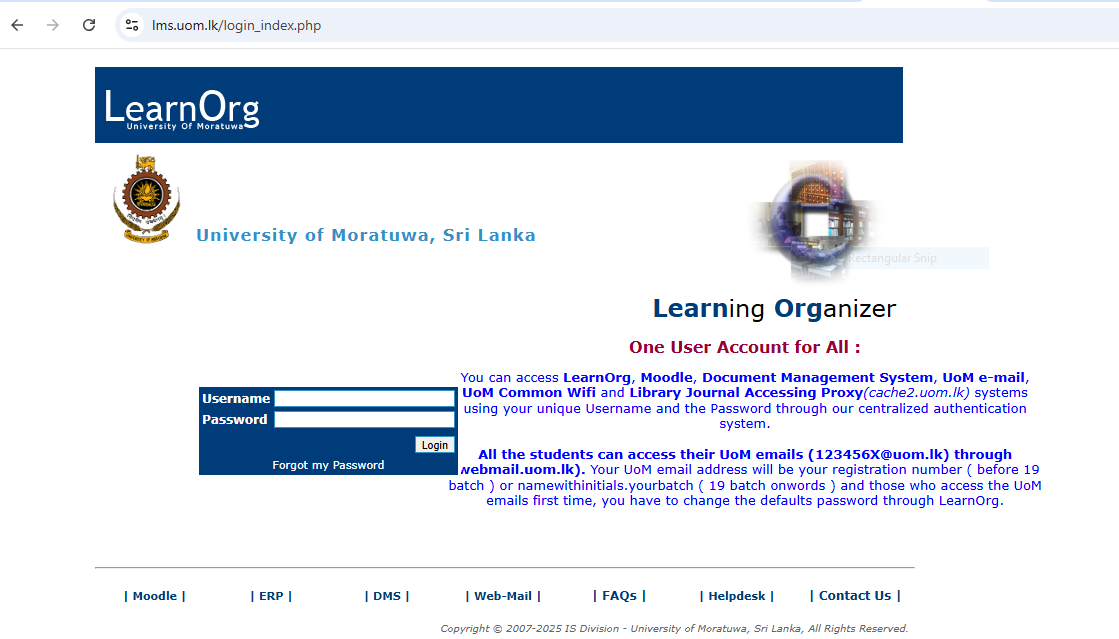
Figure 1: LMS Login Page
Step 2: Transfer all Students to different Academic Year/level
Transfer allAll Students to differenta Different Academic Year/levelLevel
Once successfully logged into the Learning Management System (LMS), users can proceed to the Programme Admin Area, where they are granted access to Student Common Details functionalities.
Navigating to Student Academic Admin
-
From the LMS dashboard, locate the menu on the left-hand side of the screen.
-
Click on the “Student Academic
Admin”Admin” option to begin the process, as shown in Figure 2.
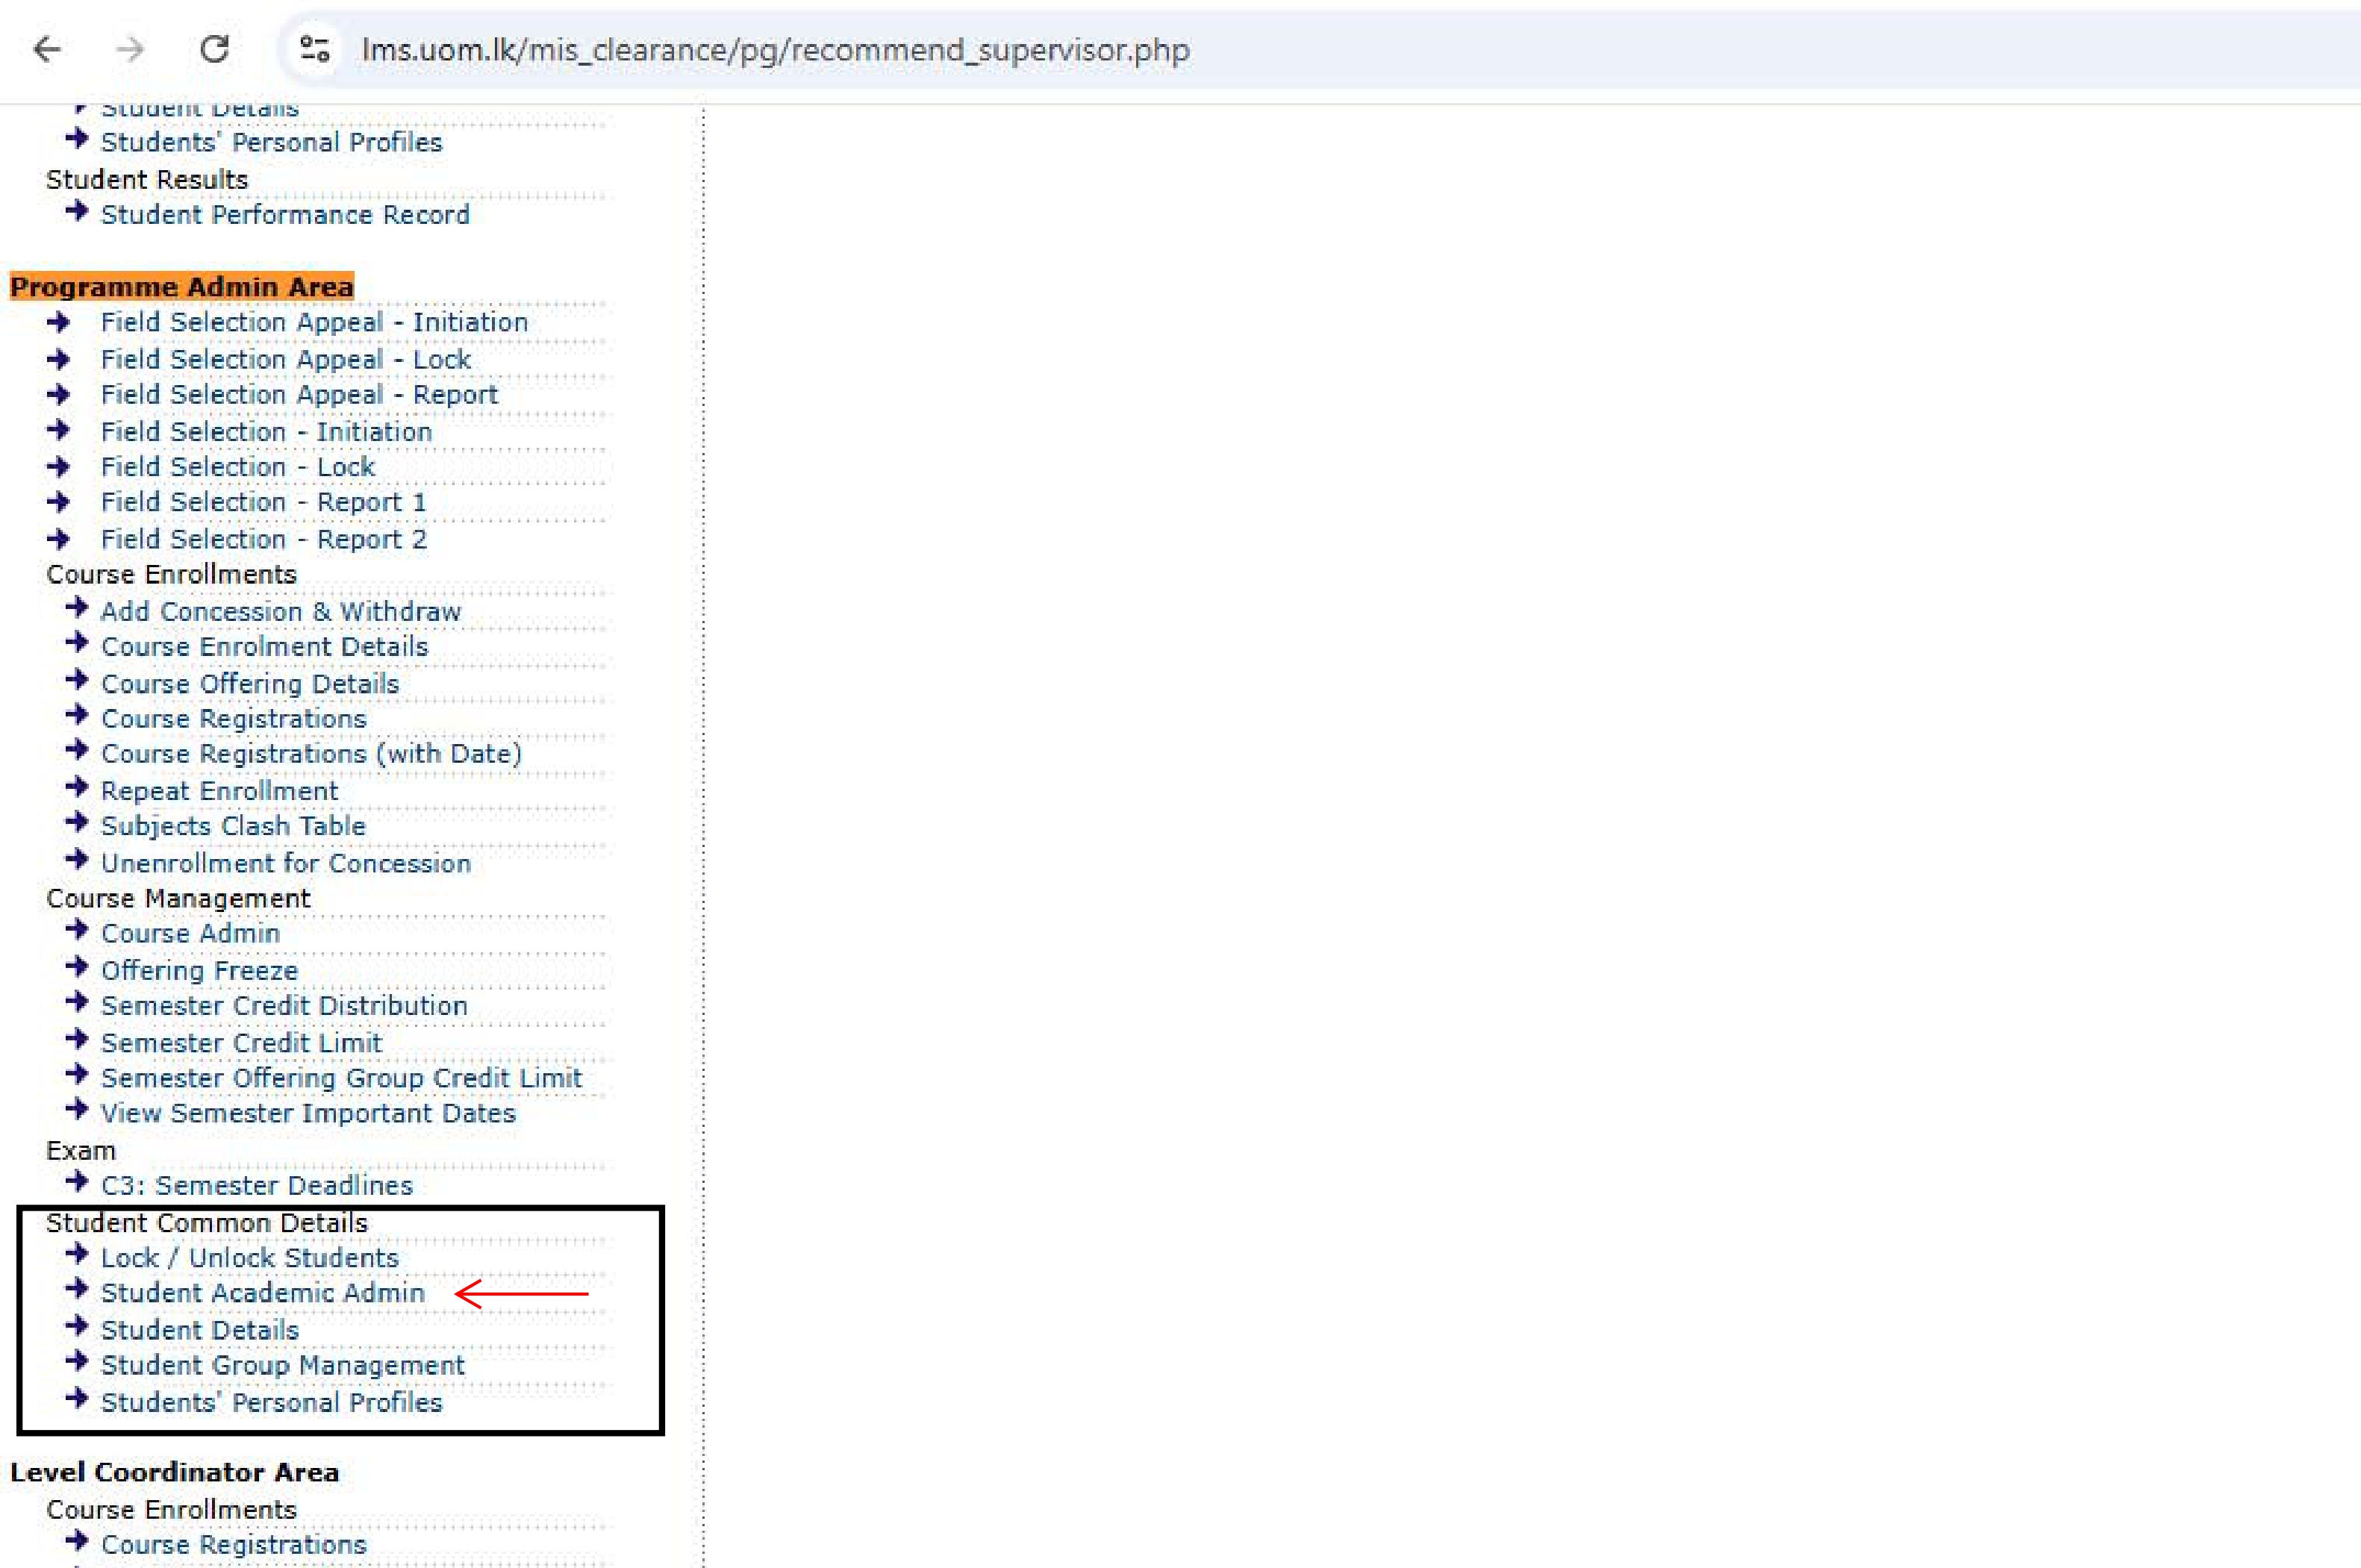
Figure 2: Programme Admin Area and Student Academic Admin
Selecting Degree Programme, Intake/Academic Year, and SemesterYear
After clicking on Student Academic Admin, the system will display the interface as shown in Figure 3. Follow the steps below:
-
Select the Degree Programme using the first dropdown.
-
Select the Department using the second dropdown. ⚠️ Note: This will only have one option — the department code relevant to the selected degree programme.
-
Choose the Intake/Academic Year using the third and fourth dropdowns.
-
Click the Go button to proceed.
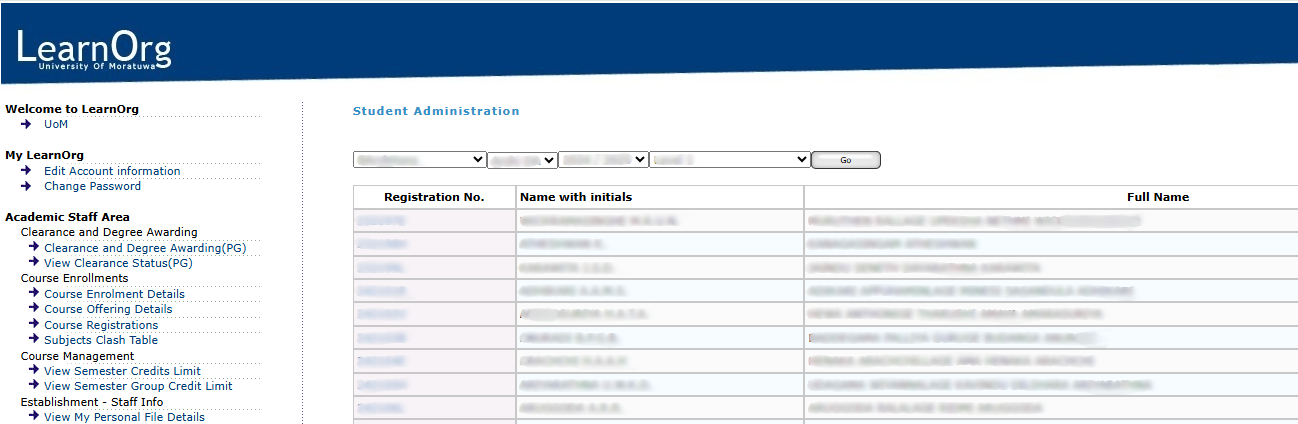
Figure 3: Student Academic Admin Interface
Accessing the Student Transferring Section
OnceAfter clicking the Go button is clicked,button, the Student Transferring Section for the specificselected batch will appear underbeneath the student list, as r, as shown in Figure 4. This interface allows users to transfer all the students to a different level.level or academic year.
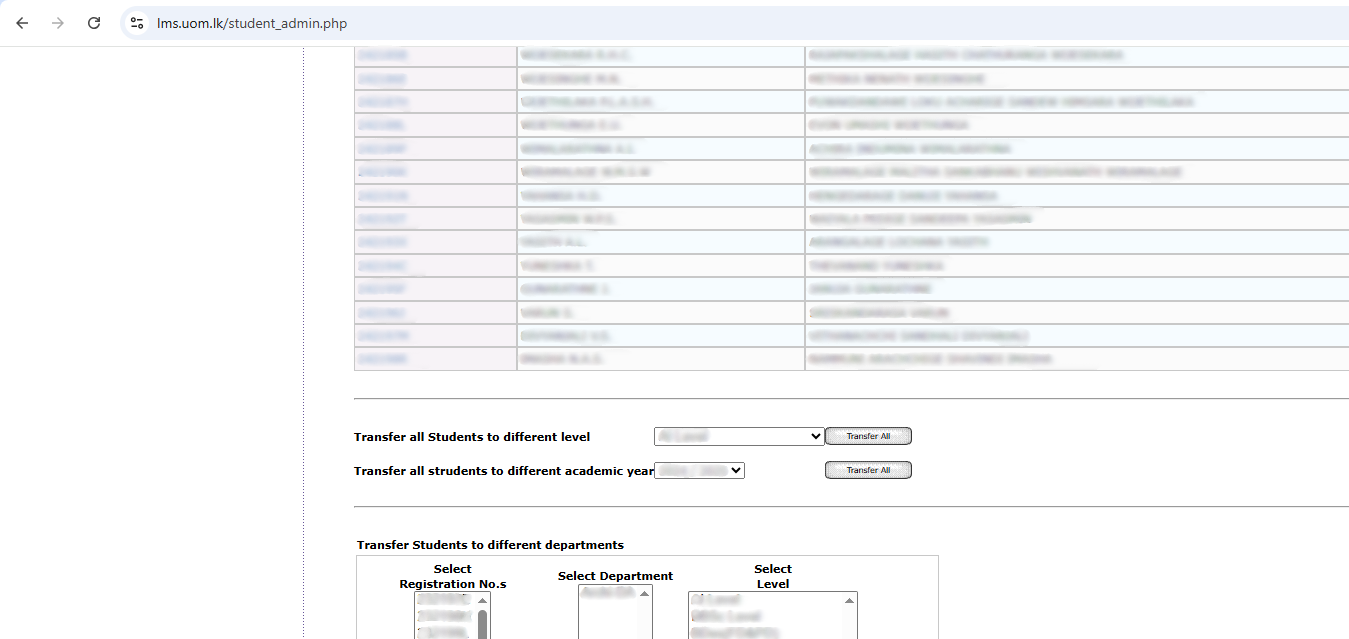
Figure 4: Student Transferring Section
Transferring All Students to the "Level 6"6 (Temporary Step)
Important Note: SinceNot all the students are not transferringprogress to the subsequentnext level atsimultaneously. the same time please useUse "Level 6" as a temporary supportive level when transferring students to avoid somepotential consequencesinconsistencies canor besystem occurred.conflicts.
-
Select
theCorrect Academic yearthat you wish to transfer all students from theTransfer all Strudents to different academic yeardropdown. And click on the "Transfer All" button.Then the students will transfer to the Correct Academic Year and the“Level6.Transferring All students to the Correct Level6”Search for the students with the correct academic year and level 6 from the drop downs in above figure 3.Select theCorrect Levelthat you wish to transfer all studentsfrom the Transfer all Students to different level dropdown.And -
Click on the "Transfer All" button.
Then the student will be transfer to the Level 6 with the same Academic Year
Transferring All students to the Correct Academic Year
Search for the students with the current academic year and level 6 from the drop downs in above figure 3.
Then theAll students will transferbe moved to Level 6 while keeping their current academic year unchanged.
Transferring Students to the Correct Academic Year
-
In the Student Academic Admin interface (see Figure 3), search for students who are currently at Level 6 with their current academic year.
-
From the Transfer all Students to different academic year dropdown, select the correct academic year.
-
Click on the "Transfer All" button.
Students will now be assigned to the correct academic year, while still remaining at Level 6.
Transferring Students to the Correct Level.Level
-
FinallyAgain,Searchuse the dropdowns in the Student Academic Admin interface to search forthestudents with the updated academic year and Level 6. -
From the Transfer all Students to different level dropdown, select the correct level.
-
Click on the "Transfer All" button.
Students will now be fully transferred to the correct academic year and correct level from the drop downs in above figure 3 to ensure the process is smoothly done. .
Final Verification
To ensure the transfer process is completed correctly:
-
Use the dropdown filters in Figure 3 to search for students with the updated academic year and level.
-
Confirm that all records have been updated accordingly.