Linking MS OneDrive File Uploads
Opening your OneDrive
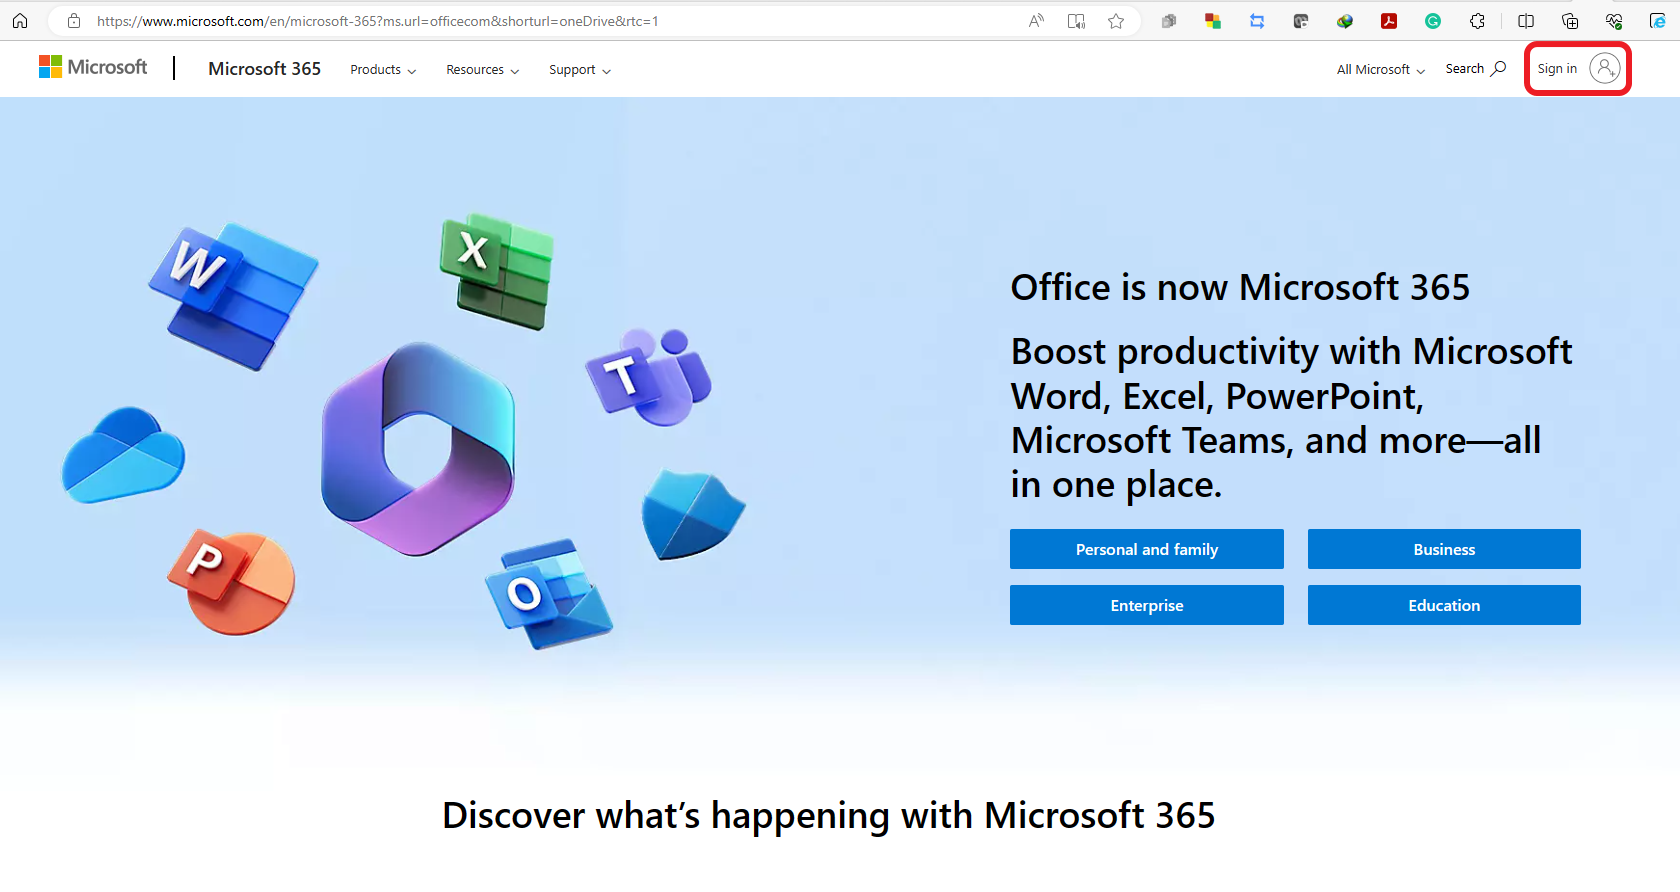
- Open a web browser.
- Navigate to the Microsoft Office homepage: www.office.com
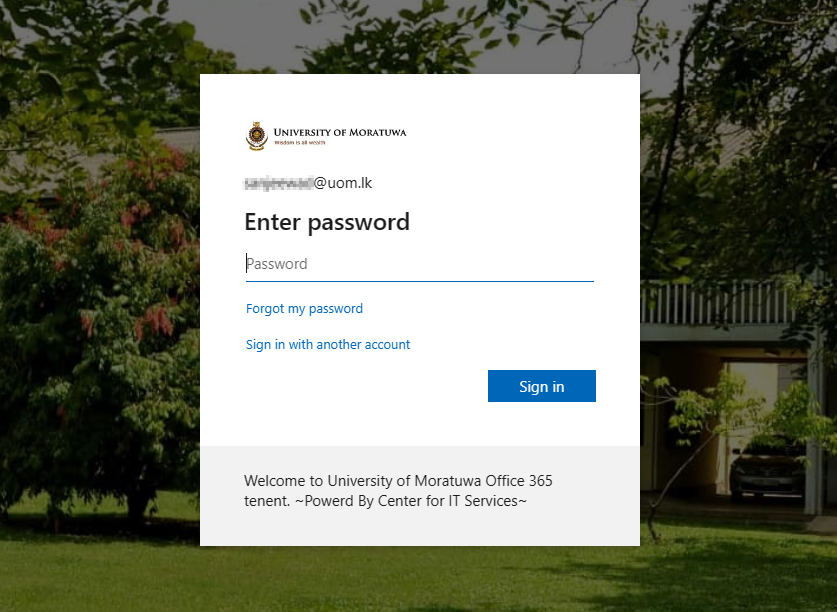
- Click “Sign in” and sign into your Microsoft account.
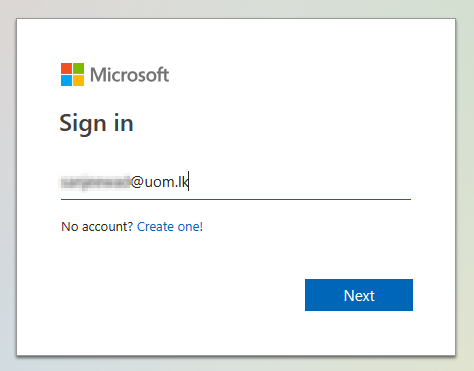
- Login to the portal by using your Office 365 credentials. If you have not created Office 365 account yet by using uom email, please visit here.

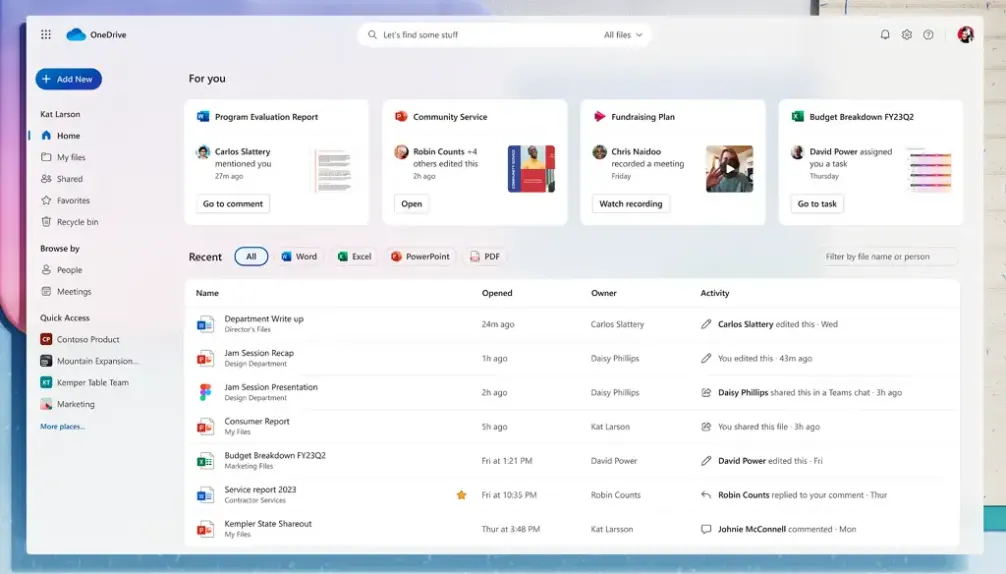
- The Microsoft Office home page is displayed. A listing of the available online apps available to you is revealed. Below is a listing of files you’ve recently accessed in your OneDrive cloud storage.

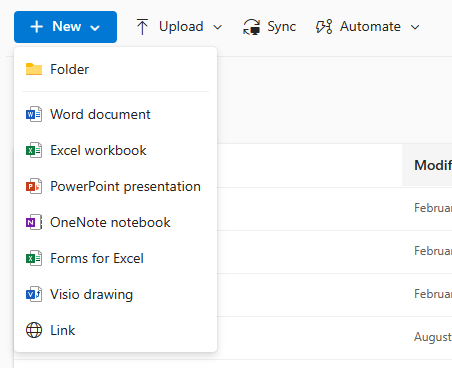
- All new files (Such that Folder, Word, Excel, etc.) that are created through Office.com are automatically saved to your OneDrive. You can store over 320+ different file types in OneDrive (7Z AVI ZIP IMG ISO MKV MOV MP3 MP4 MPEG JPE PNG PLJ PPS etc.). Files and folders can be uploaded directly in the browser once signed into OneDrive

- Click “Upload” next to the New button, and then click “Files” or "Folder" to upload the contents.
(You can also do the same task by dragging and dropping).
In the file upload dialog box, navigate to the Downloads folder.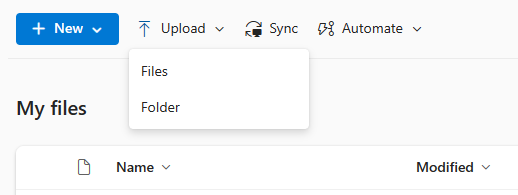
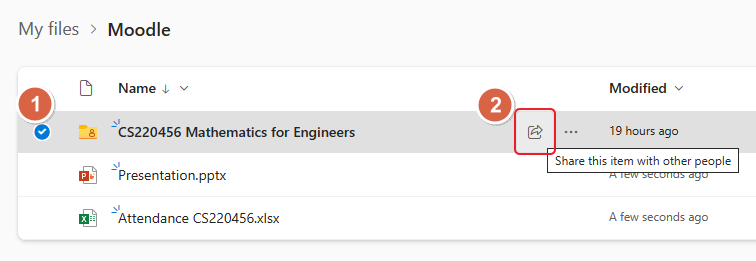
Select the required file and click Open. - Notice how the file has appeared in the content pane.
Also, notice the three blue lines “coming out” of the first letter in the name of file. This symbol means that the file has been recently added.
- Select the required file to share and click the "Share button".
-
Click on the pencil, drop-down button. Then select the Can view option view only purpose.
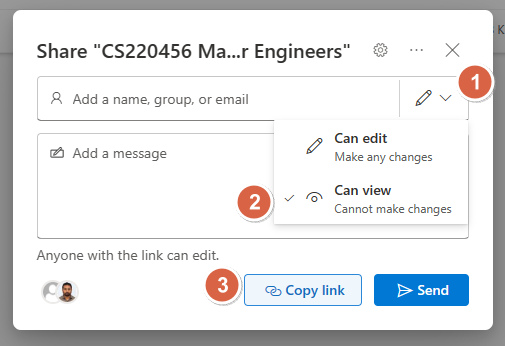
Notice how it is prompting us to enter a name or email address. This is an optional feature that will send an email to whoever we want containing a link to the file.
We will not enter any email addresses here because we want to send a public link to our students. - Finally, click "Copy link”.
Clicking the "Copy link" button does two things: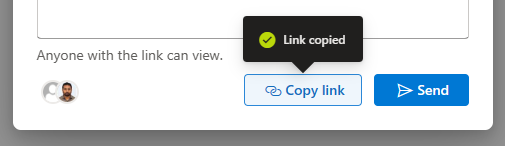
- Applies sharing permissions to the file. The sharing permissions state that anyone who knows the link to the file can view and edit it.
- Copies the link to the file to the clipboard so you can paste it somewhere.
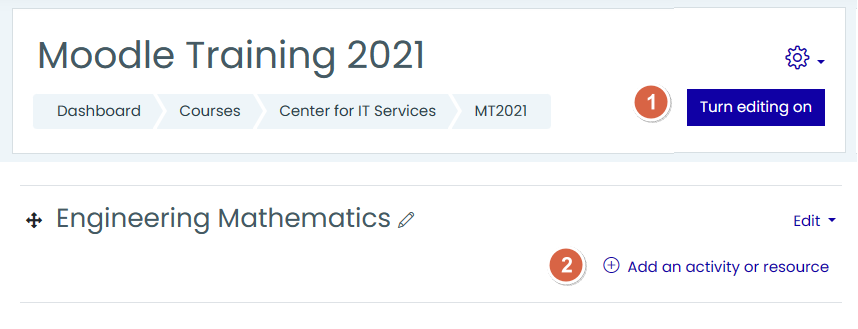
- Upload the shared link to Moodle.
- First, click "turn editing on" in your Moodle course.
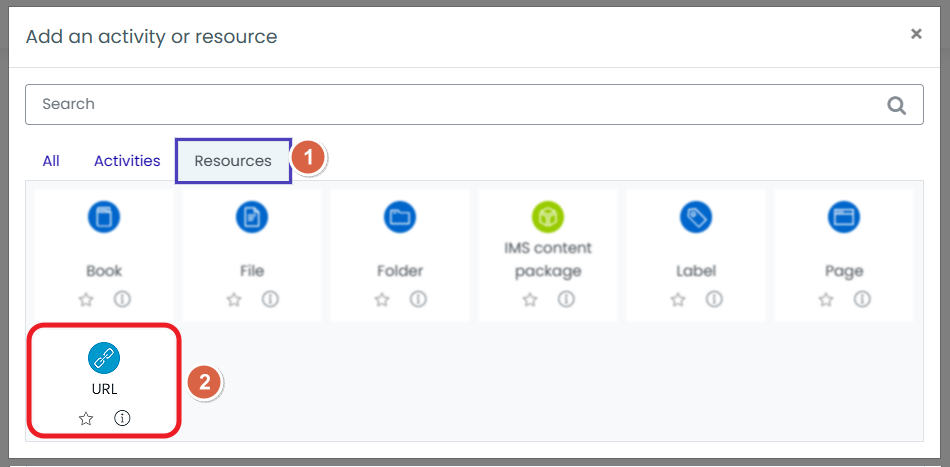
- Then, click "Add an activity or resource".
- Select "URL" under the resources tab.

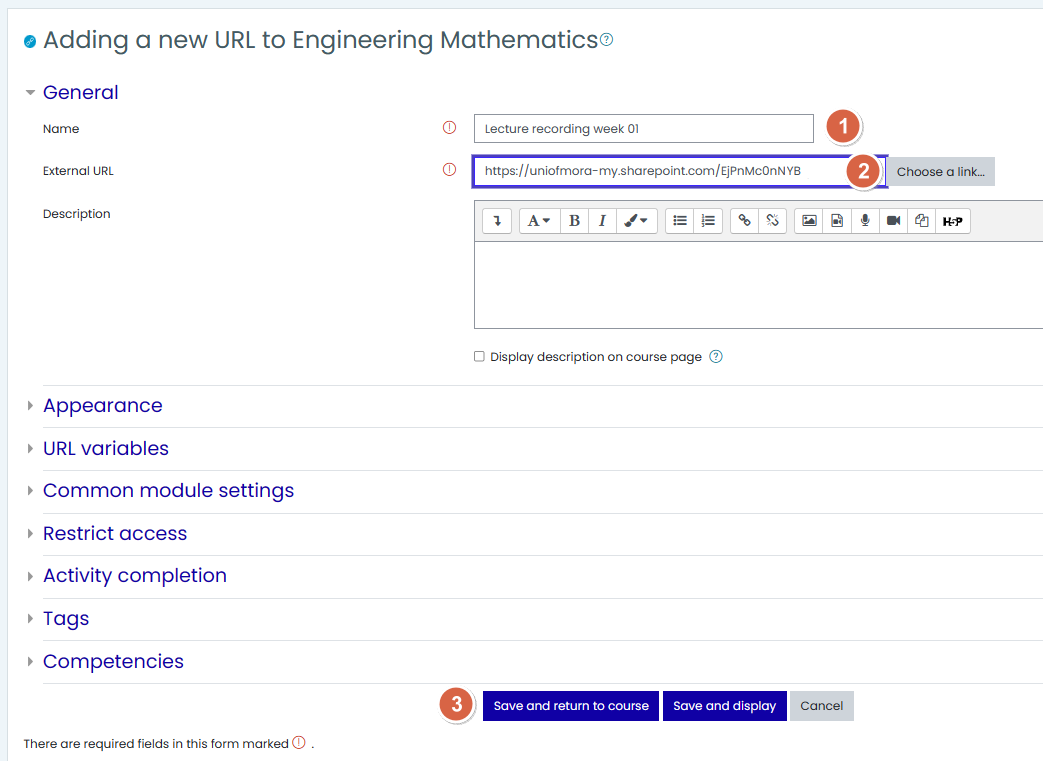
- Add the resource by using an appropriate name and paste the link you have copied under Step 14. Then, save it.

- Finally, it will display as follows.