UoM Resource Booking (RBS)
[Staff Only] Guide for reserving UoM venues (lecture rooms, computer labs, etc.) via UoM resource booking system.
- Logging in to Resource Booking System
- Configure email notifications (Important)
- How to make a Reservation
- How to approve a reservation
Logging in to Resource Booking System
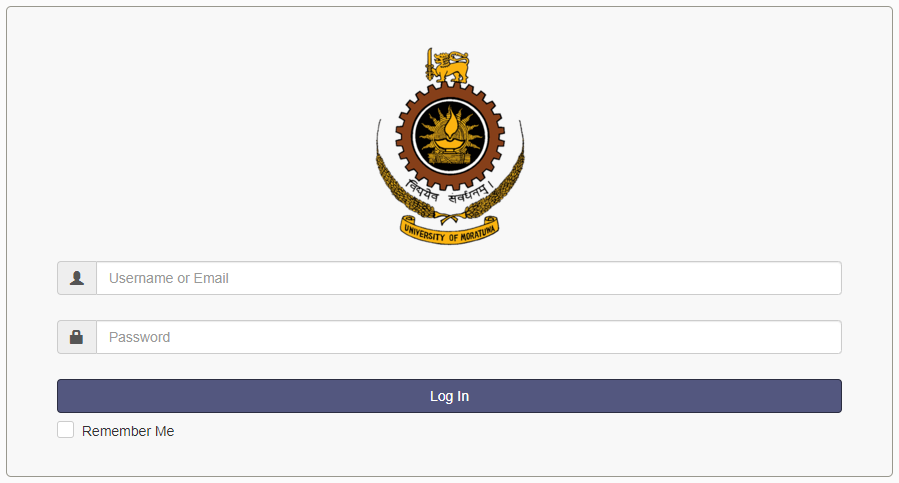
Visit UoM Booking System (http://book.uom.lk/). Enter your UoM Username and password to Login. (eg. if your email is cites@uom.lk, your username is cites)
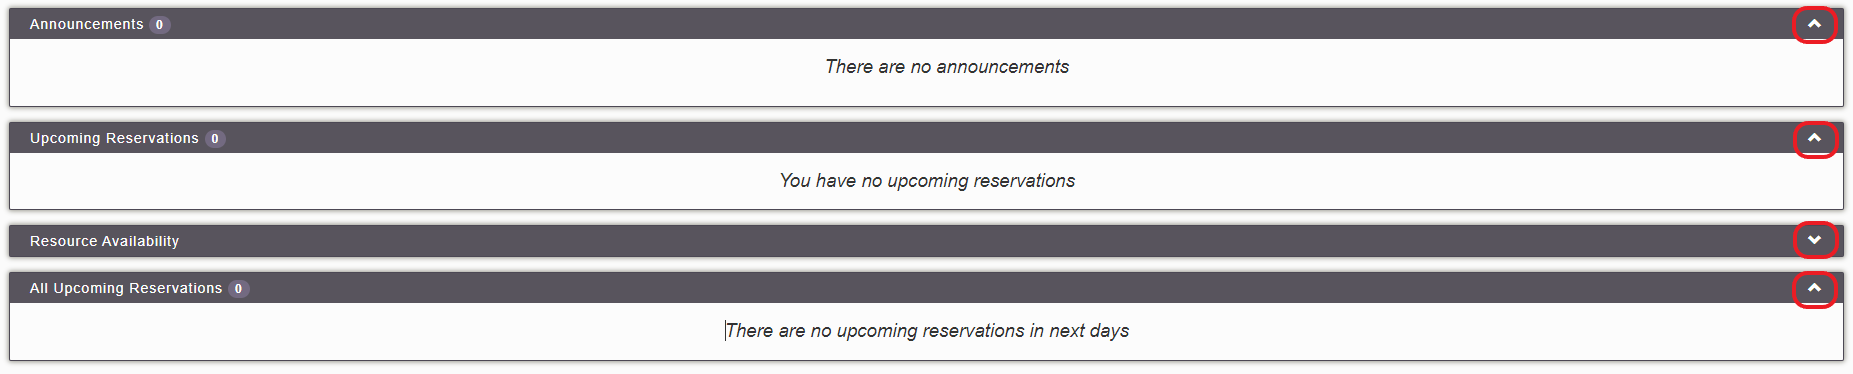
Once logged in, you will see the dashboard. You may expand or collapse dashboard cards by pressing  .
.
Configure email notifications (Important)
To receive email notifications you need to enable required notification.
After logging into the system, click on "My Account" > "Notification Preferences".

Turn on the email notifications as preferred and click Update.

How to make a Reservation
After logging in, click on "Schedule" > "Find A Time".

Fill the desired details and click "Find A Time".
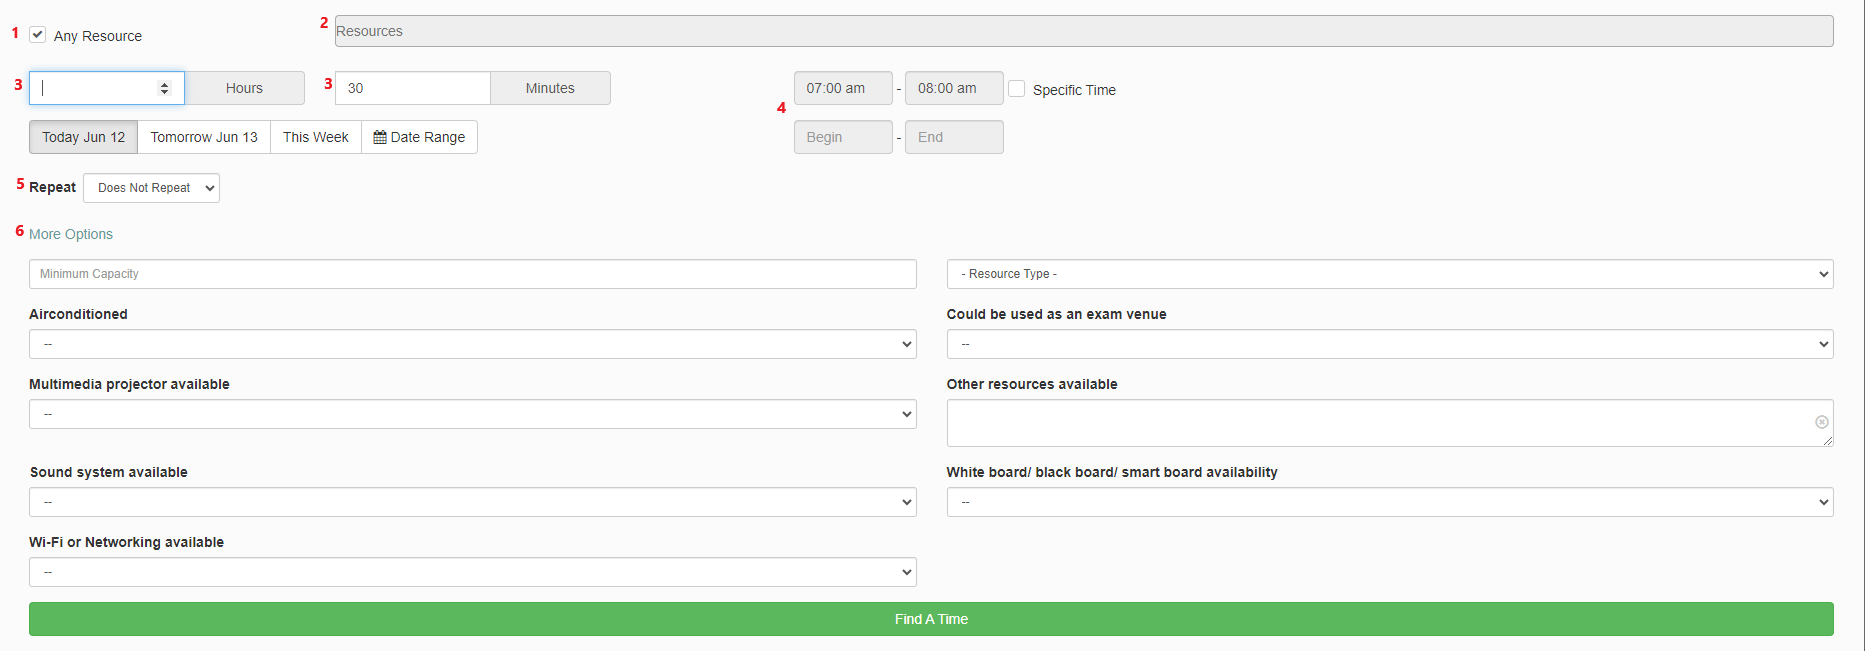
Please note the functionality of each numbered boxes in the above image are as follows.
-
-
- If you tick this box, your search will cover all resources. If this box is not checked, you must specify resources in box 2.
- Begin typing to find the required resources, then pick from the drop-down menu. You have the option of selecting multiple resources.
- You have the option of specifying the required time period.
- If you have a specific time in mind, tick the box and enter the start and end times.
- Set the frequency of repetition. Depending on the resource settings, this option may or may not operate.
- To narrow your search, click "More options" and then select the appropriate options.
-
Once you click on "Find A Time" you will be prompted with available slots. Select a desired slot from the list.

You will be redirected to a reservation page once you have selected a slot. Your reservation must have a title, and a description is optional but encouraged. When you are ready with all the details, click Create to create a booking. Keep in mind that this is a non-recurrent booking.

If you need to make a recurrent reservation, follow below figures and steps:

- Do the same steps as above mentioned until you get to the New Reservation page.
- Select your desired date range.
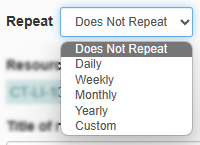
- Click on the "Repeat "dropdown.
- Choose the frequency which you want your reservation to be repeated.

- If you selected:
- Daily: This sets a reservation to recur on a daily interval. For example, Repeat Daily every 2 days will create a reservation every other day at your specified time.

- Weekly: This sets a reservation to recur on a weekly interval and optionally, specific days of the week. For example, Repeat Weekly every 1 week on Monday, Wednesday, Friday will create a reservation on each of those days every week at your specified time.

- Monthly: This sets a reservation to recur monthly on the specific day of the month or the specific week of the month. For example, if it were the 2nd Wednesday of the month, Repeat Monthly on the day of the week would repeat the reservation at your specified time every 2nd Wednesday of the month. If it was the 10th of the month, Repeat Monthly on the day of the month would repeat the reservation at your specified time on the 10th of every month.

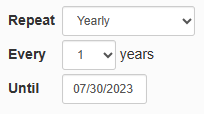
- Yearly: This sets a reservation to recur on the same date and time every year.

- Custom: This allows you to pick specific dates to repeat the reservation on. The reservation will occur on all selected dates at your specified time. Select a date click on add date to add the date to the list.

- Daily: This sets a reservation to recur on a daily interval. For example, Repeat Daily every 2 days will create a reservation every other day at your specified time.
- When you've finished setting the recurrence, enter your reservation title and optional description, and then click 'Create' to submit the reservation for approval.


You will be prompted a success message if your reservation is made. If unsuccessful, the reason will be displayed.
Please note that for resources that need approval, the reservation will be confirmed only after the approval authority approves the request.
How to approve a reservation
The approval authority has several methods to approve reservations.
Method 1
One logged in to the system, you will find unapproved reservations in your dashboard under "All Upcoming Reservations" in amber colour.

Upon clicking on the one you want to approve, and you will be redirected to the approval page.

Click the "Approve" button to approve the reservation. To reject a reservation request click the Reject button. A notification to the requester will be sent informing. The resource administrator also have the opportunity to modify the reservation request. However, modification is strongly discouraged.

Method 2
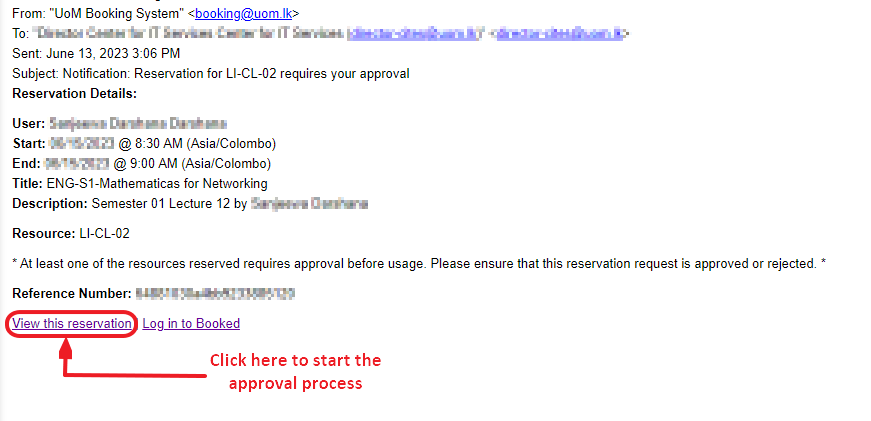
Once an request has been placed in the system to reserve a resource of which you are the resource admin, you will receive an email notification (if your notification preferences have been appropriately set in in the system). Click on the link in the email to start the approval process.
Method 3
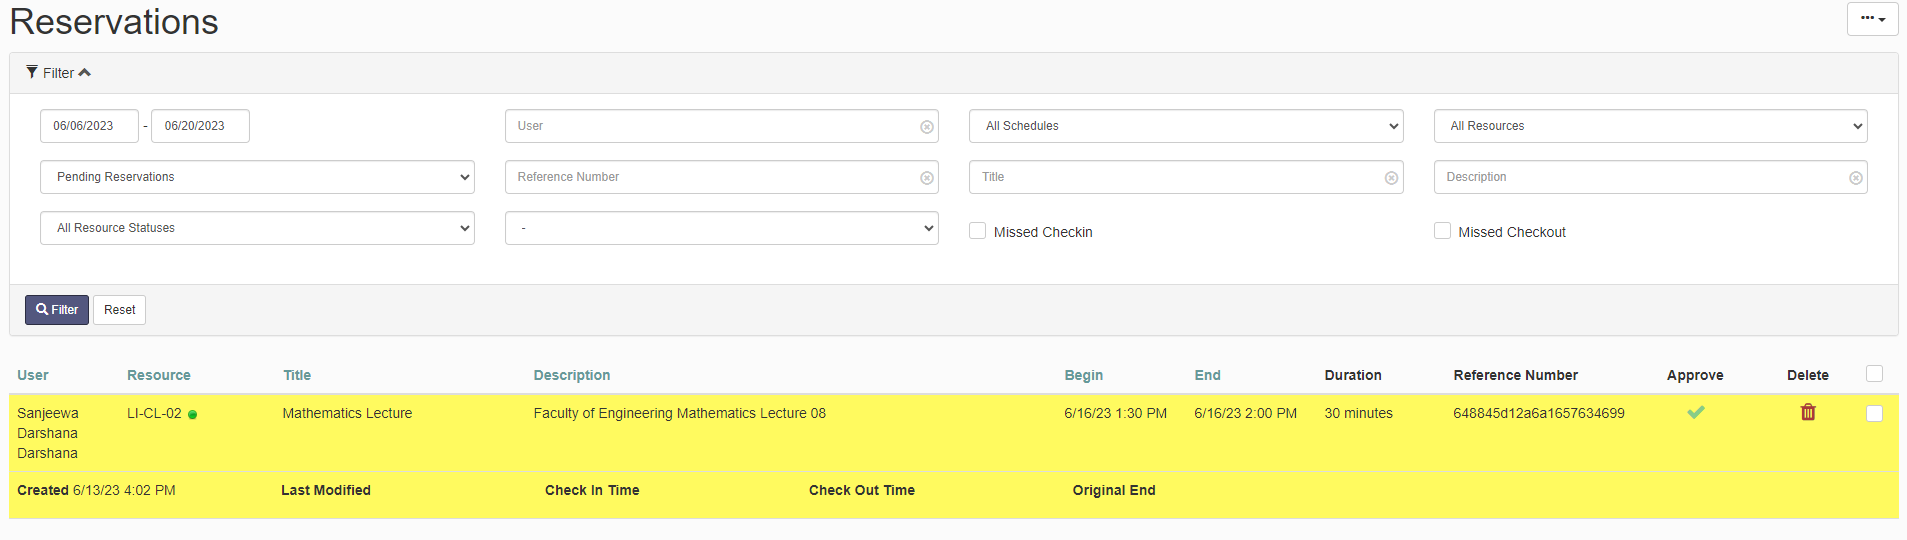
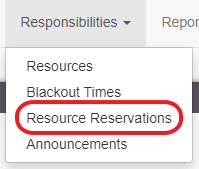
Once logged into the system, you may search for specific reservations for approval under Resource Reservations under Responsibilities.
You can use the below parameters to filter and search for the pending reservation.

Once you click filter, you may find the required reservation. All pending reservations are shown in yellow. Click on the required reservation to approve or reject.